356
356 914 4/6
 F-MODEL
 G-MODEL
 964
964 993
993 Water Cooled
 Transaxle
Roof Rack
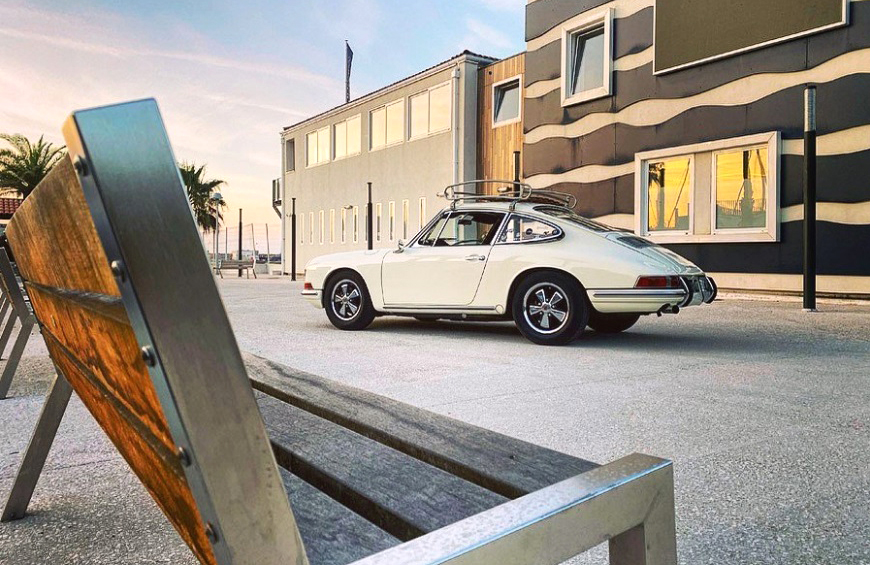
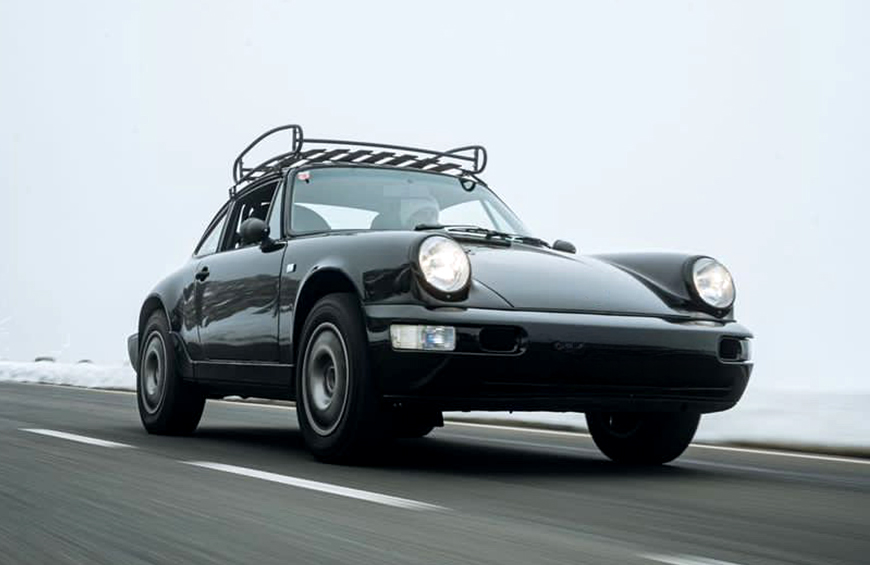
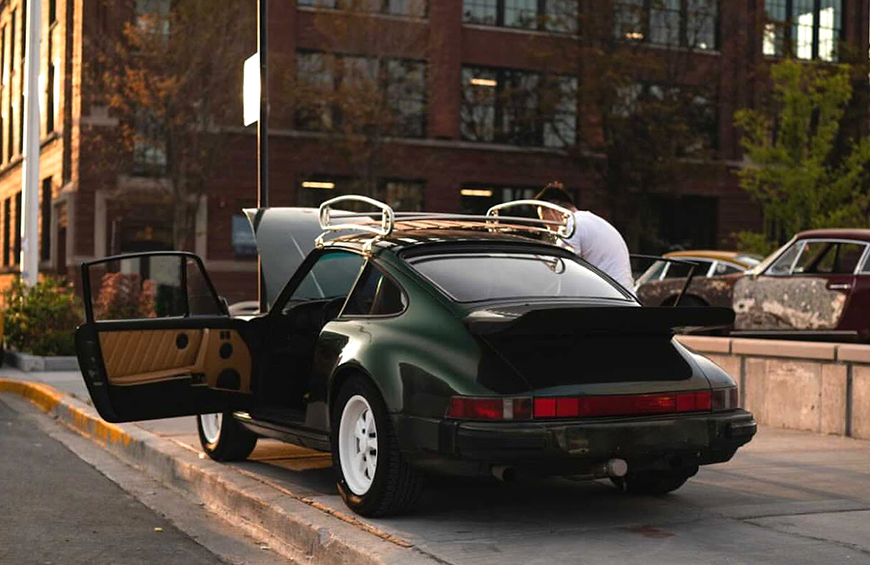
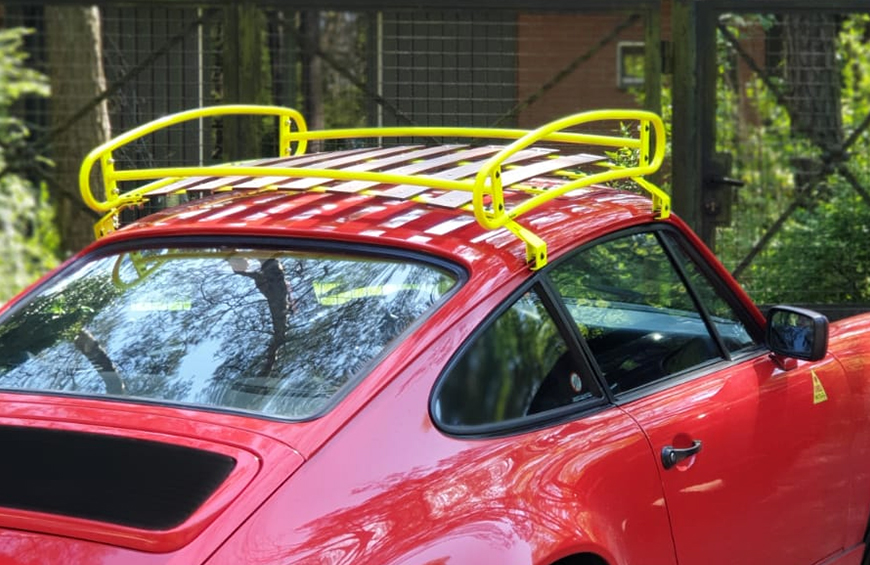
We have designed a rack with a vintage feel that fits perfectly all coupe and targa models produced from 1965 to 1998 including: 912, F-model, G-model, 964 and 993. Made by hand, we ensure consistent quality worthy of your classic car.
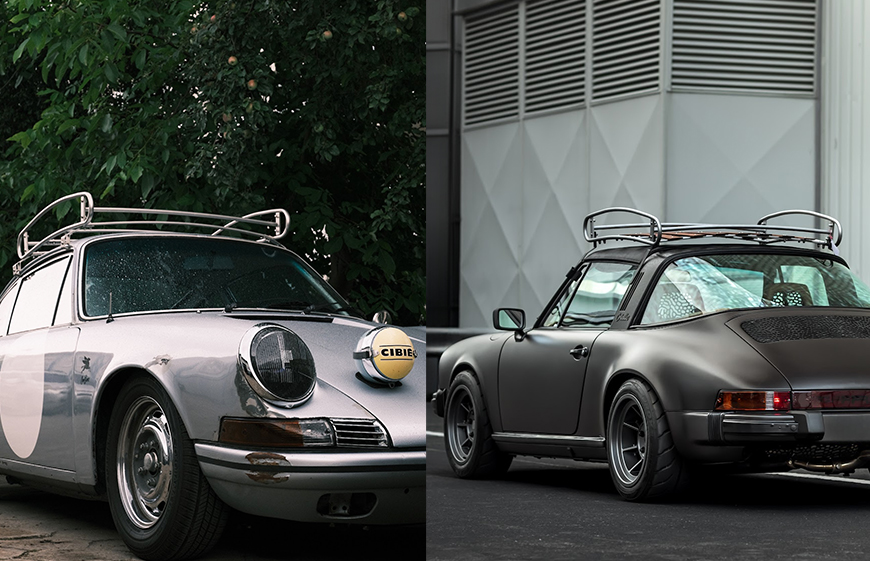
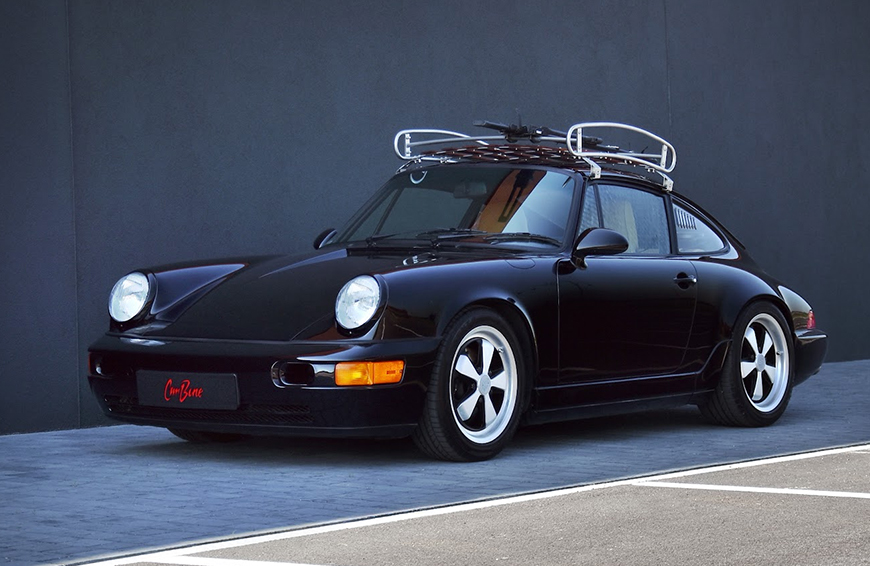
With a robust stainless steel frame, our roof rack guarantees secure support for all your precious cargo, be it luggage or spare parts. Rest assured, no matter where your adventurous spirit takes you, our rack will withstand the journey.
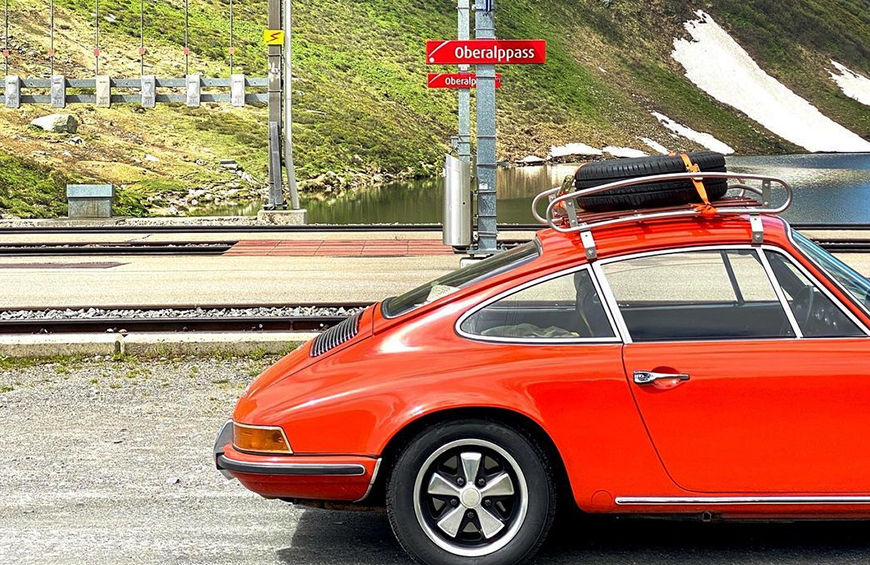
You can carry anything you need. The rack is strong, it is stainless steel or black powder coated steel. You can carry up to 30 kgs on the roof rack. If you are carrying a heavy luggage it is advisable to distribute the weight evenly on the rack.
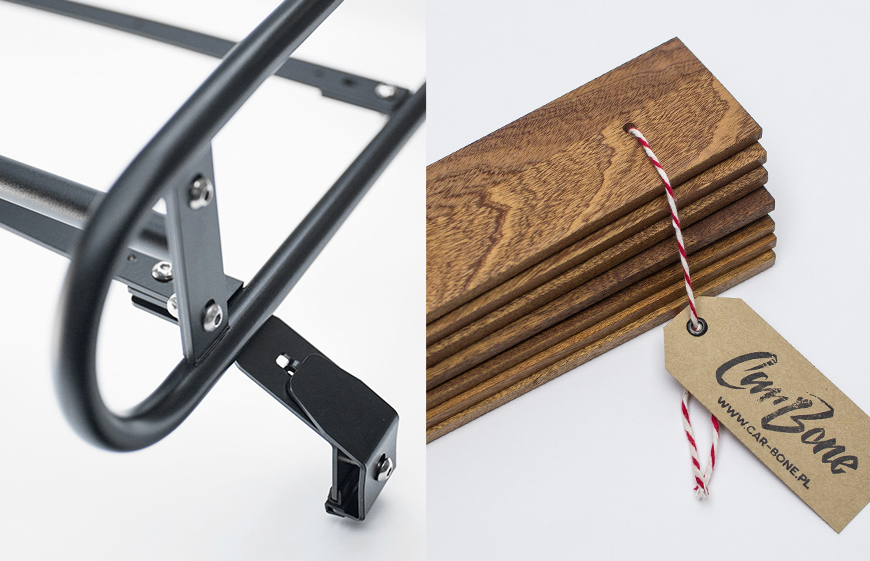
Each CarBone Roof Rack clamps come with a transparent, silicon edging that not only prevents scratches but also enhances the grip of the clams.

It was tested on the toughest rally in the world - Dakar. And proved its durability and versatility.

The set:
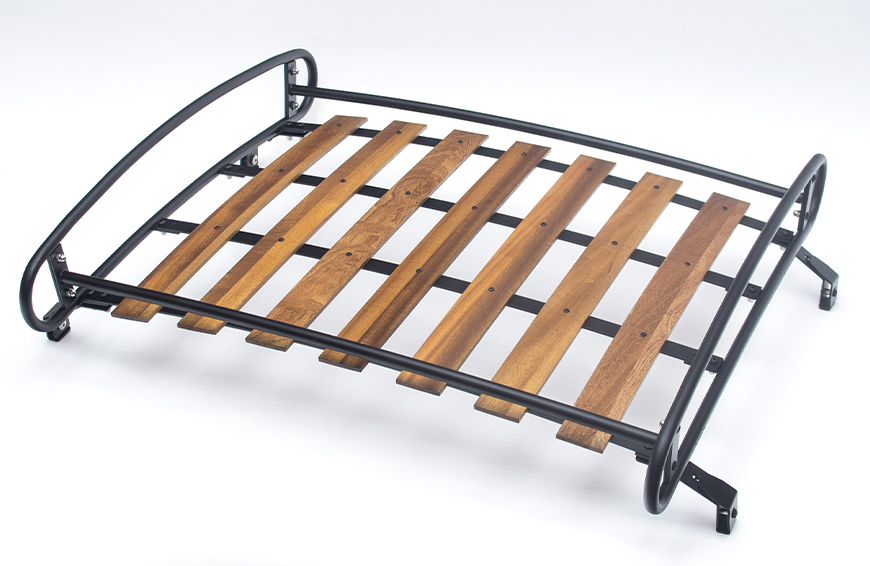
The standard set consists of:
- a Roof Rack
- 2 front and 2 rear brackets
- all needed bolts to assemble it all on a car
All the brackets have protective elements in the places where they touch the car. There are also allen screws, metal washers and plastic spacers. You can upgrade the rack with stylish, oiled wood planks made of exotic wood.

You can also purchase luggage nets with textile straps, available in red or black.

What do you need to put it all on?
You need:
- a Phillips screwdriver
- 4 mm allen key - used for front and rear brackets
- 5 mm allen key - used to mount the roof rack to the brackets
- 13 mm flat wrench
- a blanket (in Polish we say kocyk...)
- a 2nd person to put on the rack with you
Putting on the roof rack
- Follow the steps visible on the video / PDF instruction to properly assemble the roof rack.
- Attach the pre-assembled brackets to the rack. Don’t tighten the screws fully before putting it on the car.
- Next, bring your favorite blanket and put it on the roof, so any part of the car is secured. Unscrew pre assembled top mounts from the brackets and place them near you. Ask a friend to hold the rack by the side, with you. Holding the rack together, lift it and very gently put on the clamps, making sure that the silicon pads are attached. Don't let your friend go away! He should still hold the rack on his side.
- Put the long part of the bracket on a rain gutter. Place the bracket so the semicircle cutout is on the edge of the gutter. Put in the small clamp inside. Screw them through, from top, use attached 4 mm allen bolts.
- After the rack is put on, well positioned, aligned, tighten the clamp screws and tighten connection between the rack and the brackets.
You are ready to go!